Okta Provisioning Guide
Configuring Provisioning for Transform#
This guide provides the steps required to configure Provisioning for Transform.
This integration with Okta is verified and available to customers. Contact support@transformdata.io to learn more or for any questions or issues.
Sections#
In this guide are the following sections:
Features
Requirements
Step-by-Step Configuration Instructions
Troubleshooting and Tips
Features#
The following provisioning features are supported:
- Push New Users
- New users created through Okta will also be created in the third party application.
- Push Profile Updates
- Updates made to the user's profile through Okta will be pushed to the third party application.
- Push User Deactivation
- Deactivating the user or disabling the user's access to the application through Okta will deactivate the user in the third party application.
- Note: For this application, deactivating a user means removing access to login, but maintaining the user's Transform information as an inactive user.
- Reactivate Users
- User accounts can be reactivated in the application.
- Import Users
- Users can be imported from Transform into Okta.
Requirements#
Before you configure provisioning for Transform, you must have access to Transform as an admin user and also have access to Okta as an Okta admin for your organization.
Step-by-Step Configuration Instructions#
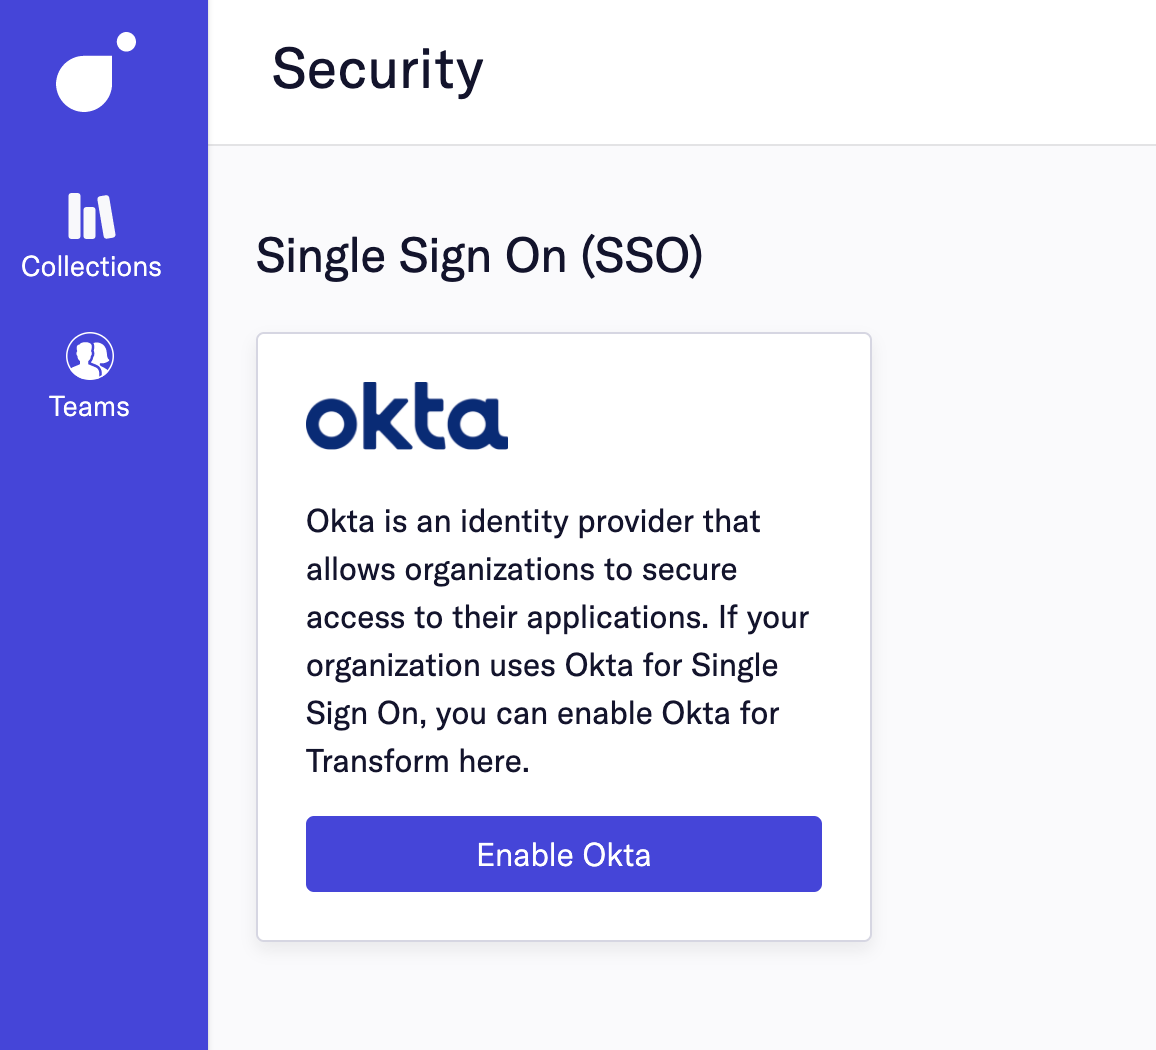
In Transform navigate to Settings → Security. Note that you will only be able to see the Security page if you are a Transform org_admin.
Find Okta and select "Enable Okta"
Fill in the form
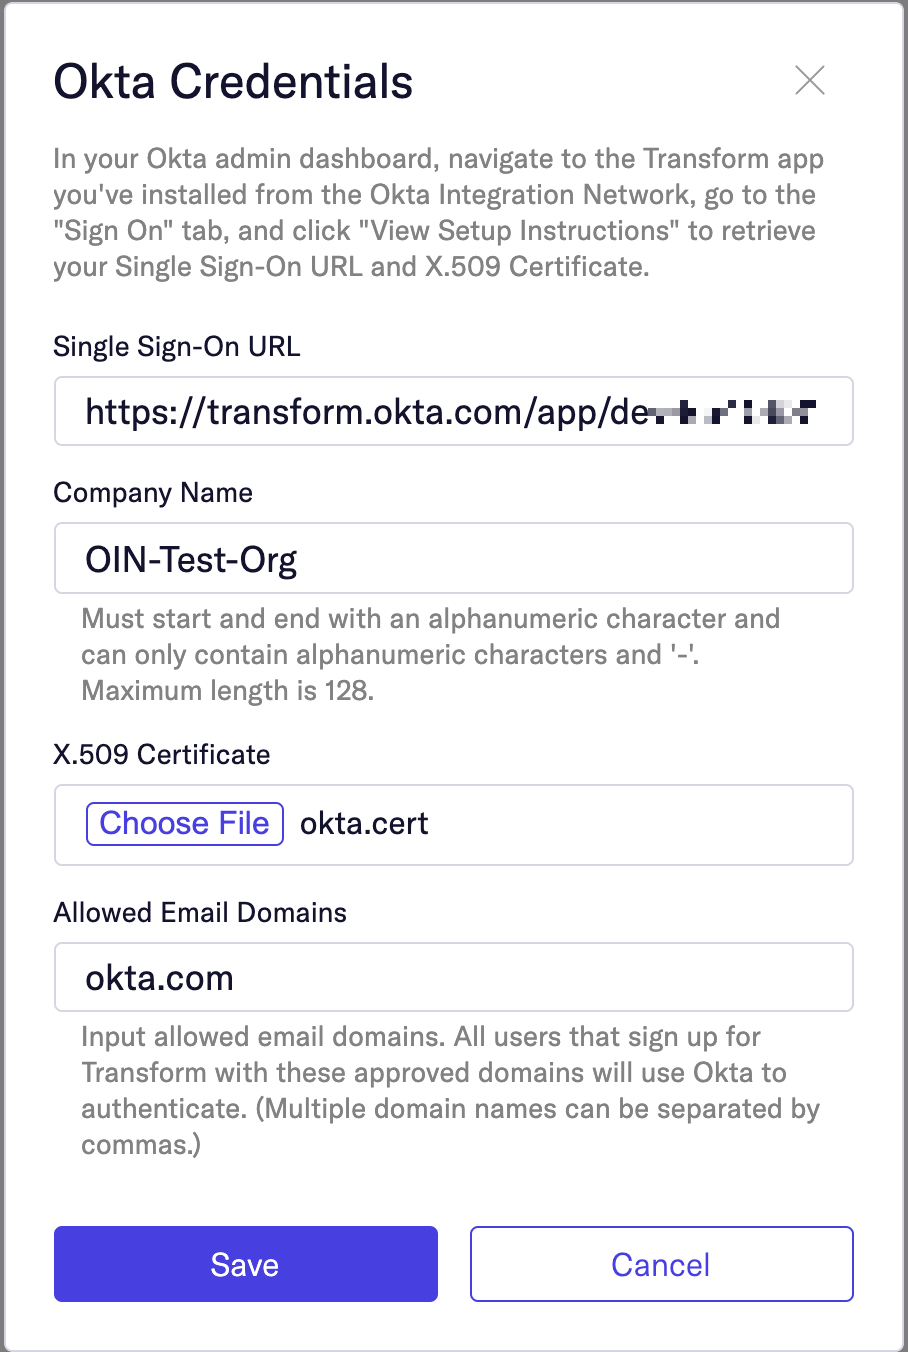
Click Save.
Click Generate New Token.
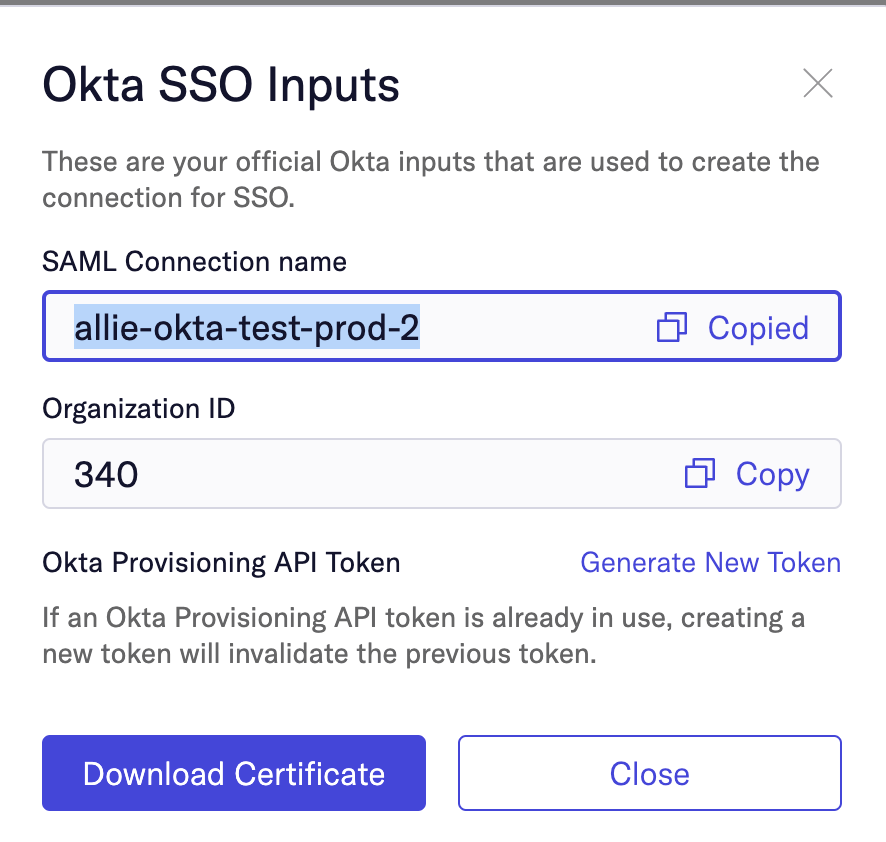
Copy token and save this somewhere securely. If you lose it you can always generate a new token from this page.
Now Go to the Transform App in Okta#
- Check the Enable provisioning features box.
- Click Configure API Integration.
- Check the Enable API integration box.
- For API Token enter the Okta Provisioning API Token.
- Click Test API Credentials; if successful, a verification message appears at the top of the screen.
- Click Save.
- You can now assign people to the app (if needed) and finish the application setup.
Troubleshooting and Tips#
N/A